
The Cyberpunk 2077 photo mode is a bit of a godsend for the Christmas break – while the holidays are usually a great time to get stuck into both gaming and photography, now you brush up on both simultaneously from your sofa.
Of course, Cyberpunk 2077 is far from the first game to have a photo mode – many popular games, from Red Dead Redemption 2 to Ghost of Tsushima, have embraced in-game snapping. But Cyberpunk's mode is one of the most advanced we've seen.
Why spend time crafting the perfect composition when you could be playing the game instead? Because the game's designers and engineers have spent countless hours painstakingly creating detailed environments for you to explore, and they can make some genuinely impressive shots for virtual portfolios on the likes of Instagram.
When a photo mode is as fully realized as the one in Cyberpunk 2077, it can also be a great way to practice your photography (for both virtual and real worlds). Cyberpunk 2077 may have been making the headlines for all the wrong reasons, but its photo mode is proving such a success that it's got its own Twitter channel, while Night City snaps commonly top Reddit's 'Virtual Photography' subreddit.
If you fancy getting involved this Christmas, here's how to take great snaps in the Cyberpunk 2077 photo mode (and other photogenic multi-verses with similar snapping potential).
- Read our in-depth Cyberpunk 2077 review
How to open the Cyberpunk 2077 photo mode
Cyberpunk 2077's photo mode offers a surprising amount of depth, giving you everything from adjustable aperture to vignettes. But what exactly do those words mean, and how can you use them to get creative?
Below, we explain five of the most important photographic terms you'll need to understand to make the most of this virtual studio. But first, it's helpful to explain where you can find Cyberpunk 2077's photo mode in the first place.
If you're on PS4, PS5, Xbox One or Series S, you can access photo mode anywhere in the game simply by pressing your pad's two analogue sticks (L3 and R3) simultaneously – this will effectively pause the game and bring up the camera options. Playing on PC? You can open it simply by pressing the 'N' key.
To take a shot, you simply press in the right analogue to remove the camera HUD and then capture a screen shot, using your controller's screenshot button. The camera menu also lets you save three custom presets and add preloaded stickers, frames and backgrounds to your pictures.
Each screenshot you capture creates an 8.2MP image, which saves to your PSN or Xbox account for you to download and share via their respective apps. All pretty straightforward, but those arcane photographic words are a bit more complex – here's what five of the most important ones mean...
Cyberpunk 2077 photo mode: jargon buster

1. Exposure
The exposure setting (above) allows you to adjust the amount of light in the shot; dial it up and you get a brighter image, lower it and your image will become much darker overall. Making exposure adjustments should be approached economically, pushing it too far in either direction makes for hyper-stylized images. If you want a more photo-realistic look, keep it subtle.
2. Depth of field
This setting reflects the amount that is in focus within your image. Cyberpunk’s photo mode gives you control over both aperture and focus distance. Your aperture number reflects how wide or narrow your depth of field (DoF) is. Having a low aperture number will give you the narrowest DoF – this means anything that falls outside of your focusing distance will be extremely out of focus. This can be a useful technique if you want to draw the eye to the part of the image that's in focus.
3. Grain
Like the look of old-school film grain? This setting (above) adds those grain-like dots to your image, mimicking the grain or noise that you may recall from photos captured using manual film cameras or low-light digital photography. Adding grain to your image can give it a textured, retro film look.
4. Vignette
Vignetting (above) is an optical imperfection that is characterized by darkened corners in your pictures. In real world photography, this can be an unwanted effect. However, adding vignetting can also help to frame and emphasize the subject of your photo. It also helps to convey mood and depth.
5. Chromatic aberration
This overly technical-sounding phrase manifests itself as color fringing, which is most noticeable towards the edges of the frame. Like vignetting, it's often considered an unwanted imperfection in real-world photography, but as an in-game photo mode effect it can help a computerized digital photo look more filmic and authentic.
5 ways to take great photos in Cyberpunk 2077
1. Look for the light
Exploring the color of light and the way it falls on objects is crucial to real-world photography, and it's the same in games. The lighting environment within Cyberpunk is exquisite. Inspired by cinematic influences such as Blade Runner, Mad Max and Ghost in the Shell, there are vibrant neon lighting and shadowy spaces throughout Night City – where Cyberpunk takes place – and its outskirts.
If you’re fortunate enough to be playing Cyberpunk 2077 on PS5, Xbox Series X or PC you’ll be able to make the most of Ray Tracing mode, which will add further realism to the look of your images. This is because ray tracing technology replicates natural shadows and reflections in real time. Lighting flares caused by pointing your camera directly at light sources can also produce some brilliant effects.
2. Meet some characters
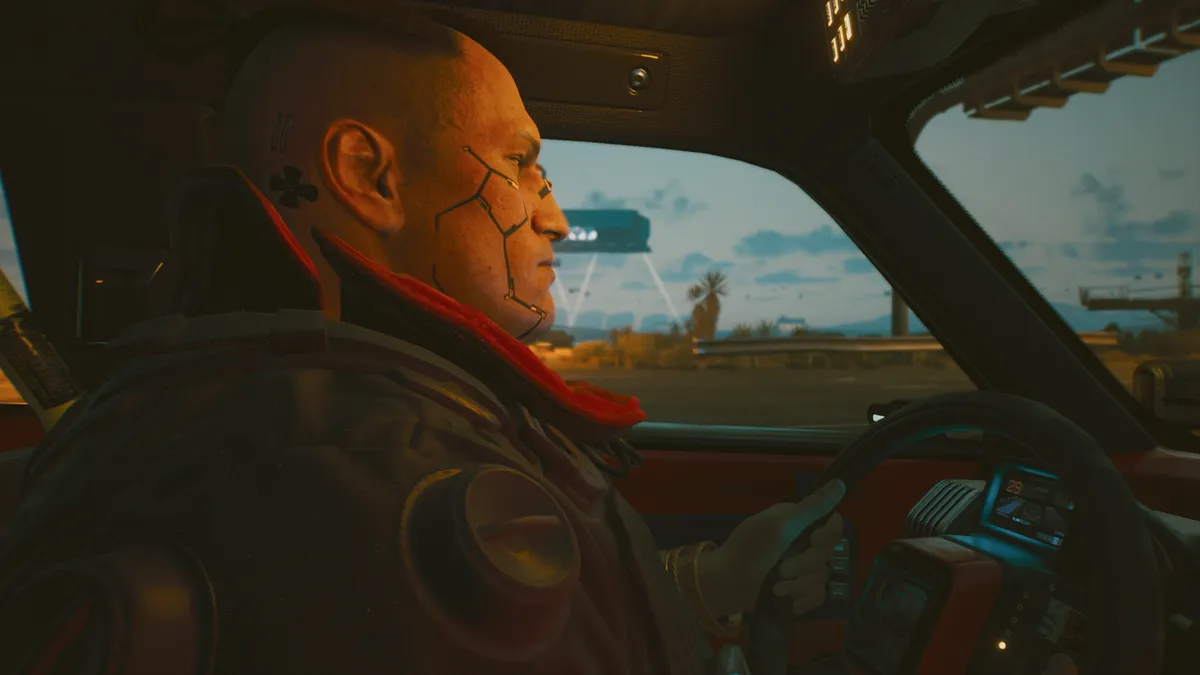
There are some weird, wild and wonderful characters within the open world of Cyberpunk 2077. The fashion and numerous bio-hacked body modifications make for some fascinating street portrait subjects. As you explore Night City, pay close attention to the NPCs (non-playable characters) that are sprinkled around the city. Walk off the beaten track, go down alleyways. There are photo-worthy portraits to be discovered everywhere.

Also, get up close. Portraits that isolate your subject from the background convey a strong sense of personality and despite these being computer generated characters, the level of detail and realism in each character’s face and their range of expressions are surprisingly authentic.
3. Compose with skylines
One of the most striking visual signatures of Cyberpunk 2077 is its skylines. When you drive to the outskirts of Night City, you’re surrounded by desert. But the glowing mirage of Night City beckons on the horizon and can make for some arresting landscape imagery.
The atmospheric tones in the outskirts and within the walls of Night City are reminiscent of the worlds depicted within George Miller’s Mad Max: Fury Road and Ridley Scott’s Blade Runner.
The light is direct and high contrast, moving between martian warmth outside the city to cool blue, within it. High contrast and strong tones are great for landscape images.
4. Embrace the drone camera
There are two camera options within Cyberpunk 2077: point-of-view or drone camera. The drone camera option gives you greater freedom to move the camera around and explore different angles.

There are a couple of reasons why this feature rocks; it means you can take multiple different images of the same scene. It also lets you play with perspective, which can enhance and emphasize different things within the frame (see above).
5. Strike some poses
The main character in Cyberpunk 2077, “V”, comes with a range of stock poses and expressions that can be cycled through once you switch into Photo Mode.
V’s poses are varied and can be used to curate some truly brilliant photos, depending on the environment.
Approach Cyberpunk’s Night City as an open world photography studio – if you see a space that provides a spotlight for a pose, take the shot. Posing V among NPCs within the frame can produce some great results that range from hilariously silly to album cover art-worthy.
The 'rule of thirds' is a good starting point for deciding a composition – using the grid in photo mode, position subjects or points of interest at the points where the lines intersect. This helps create a balanced photo, like the shot at the top of this page – though like all photography rules, it's there to be broken.
- Discover the best video game photo modes for shooting the perfect in-game pictures


