Keurig coffee makers are designed to be super easy to use and convenient, but even the simplest of machines will need cleaning routinely to keep them in top condition.
Since Keurig coffee machines often feature in round-ups of the best coffee makers, it's important to know how to clean your coffee machine and how to descale a Keurig coffee maker, too.
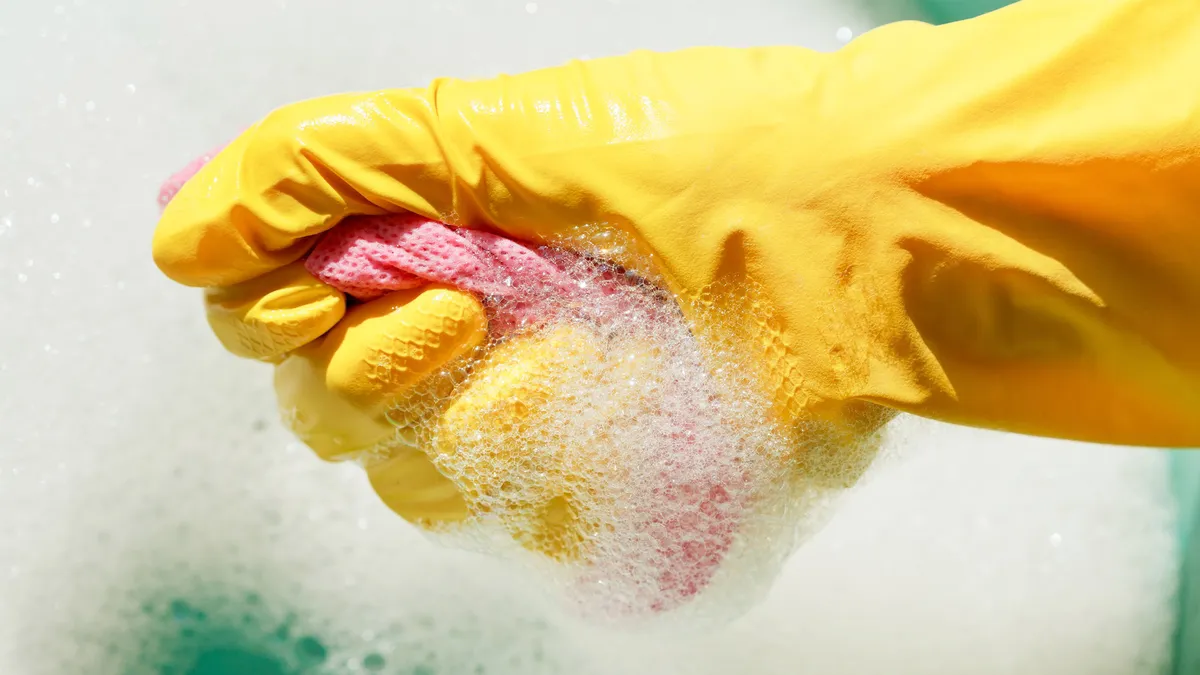
Other than keeping your Keurig looking great, regular cleaning and descaling is crucial if you don’t want to compromise on the taste of your coffee. Without establishing a cleaning routine, your machine could build up some unwanted germs and odors, and nobody wants that in their morning cup of Joe.
Some basic cleaning tasks, such as wiping the machine down, will need doing each time you use it, however, we recommend doing a deep clean once a month and descaling every three months.
- Nespresso vs Keurig: which should you buy?
- Find out how coffee makers work
- Which type of coffee maker should I buy?
- See today's best Keurig coffee maker sales
How to clean a Keurig
To start off the cleaning process, unplug your Keurig coffee maker and take off the removable parts including the water reservoir (remove the filter first), the K-Cup holder, and the drip tray, and place these inside a sink filled with warm soapy water so that they can soak.
While the parts are soaking, take a damp, clean cloth and wipe the exterior of the machine and once you’re done, open up the machine so you can clean where the K-Cup holder is normally located. To give the Keurig’s smaller areas a good clean, take a clean toothbrush or small cleaning brush and scrub away any dirt. If you’re cleaning a machine that has crusted milk residue that won’t budge, dipping the cleaning brush into white vinegar and continuing to scrub can help with this.
It’s important to rinse all the parts of your Keurig machine and let them dry fully before reassembling because if you don’t, it can cause damp odors to build up.
Every couple of months, it’s also a good idea to change the water filter cartridge on your Keurig, and you can buy replacement cartridges from keurig.com.
How to clean Keurig brewer needles
It’ll be key to your Keurig’s performance to keep the brewer needles clean. To give these some TLC, you’ll need a new metal paper clip and a mug. Ensure the Keurig is switched off for this process.
Take the K-Cup holder and remove the funnel from the pod holder by holding the parts in each hand and gently pulling them apart. You’ll notice a small tunnel coming out of the bottom of the pod holder and this is where you need to stretch out your paperclip so that it’s long enough to clean the tunnel. Move the paperclip around the tunnel and loosen any coffee that’s stuck inside, before running the pod holder under a tap.
There’s also a needle inside the Keurig machine which will be exposed because you have removed the pod holder. If you look at the underside of the machine’s lid, you’ll see where the pod holder is normally located and there you’ll find a needle with a hole in it. This needle is sharp, so take care during this step. Place the paperclip inside the two side holes around the needle so that any coffee that’s stuck is dislodged.
After reassembling your machine, run two brewing cycles without a pod inside as this will help to flush through the machine. If you need to give the internal pipes a deep clean, follow our steps on how to descale a Keurig coffee maker.
- Don’t miss these cheap coffee maker sales